Sunday, January 29, 2012

Black Bears, Beets, Battlestar Galactica.


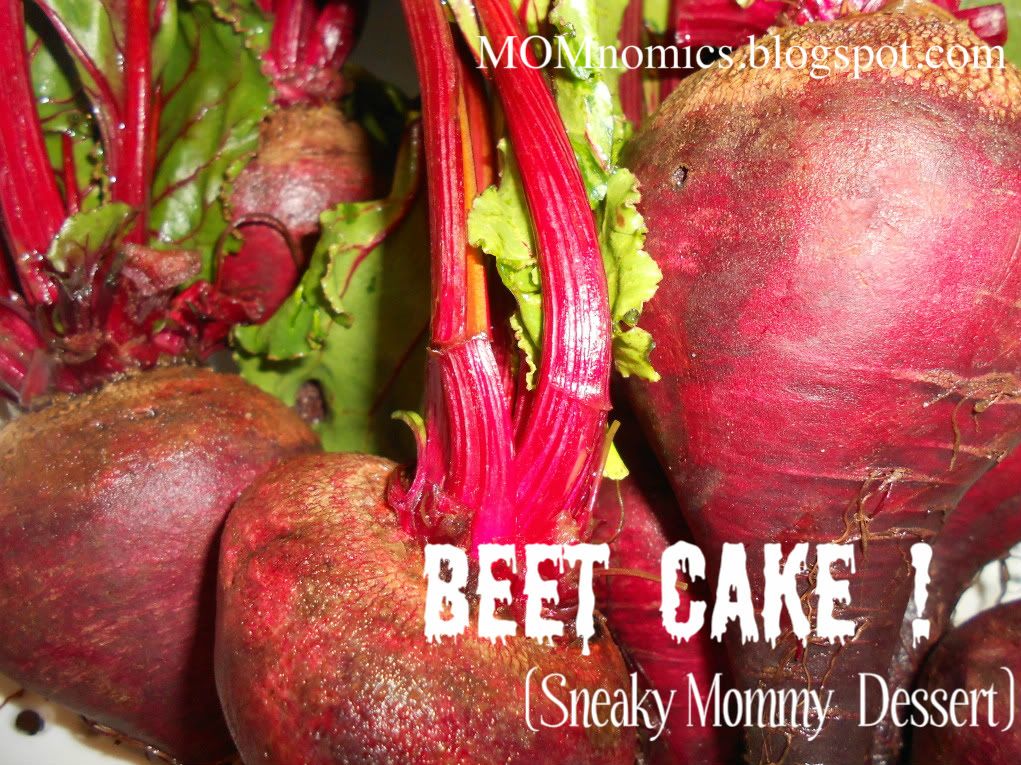
So I'm not big on baking. We don't keep a lot of sweets in our house, but most of all, I hate following directions and recipes. You really can't get away cutting corners when baking a cake. But I do love sneaking vegetables into food. Especially if they are unnoticed and unexpected. So when I ran into Joy the Baker's recipe for Chocolate Beet Cake with Beet Cream Cheese Frosting (link to recipe, if you didn't notice ;-)) on Pinterest I knew I had to try it. Luckily, Monkey had a playdate this weekend and I asked to bring dessert so I had an excuse to make this. So I bought me some beets, some baking gear and some flour, sugar and other baking necessities. And I had my beet baking adventure. 


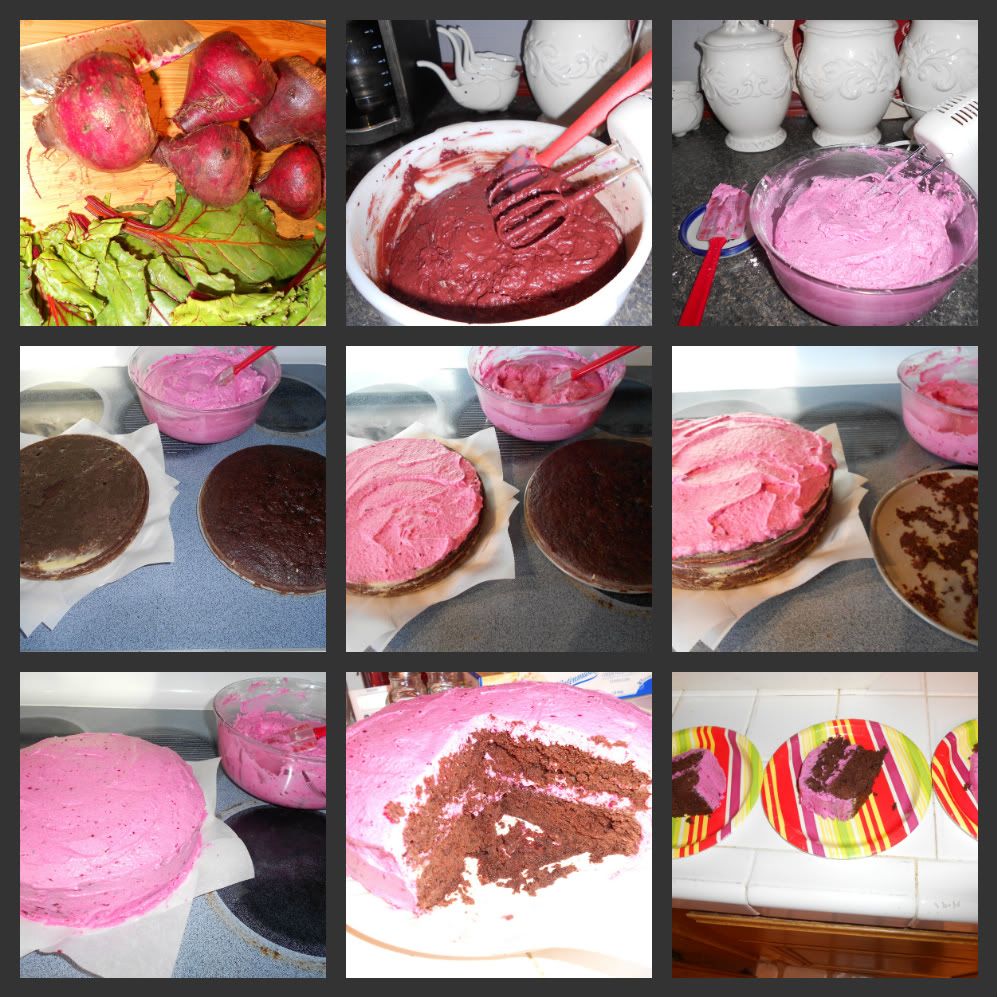
I followed the recipe almost to a tee (which is difficult for me) and it turned out great (meaning nothing burned and the caked looked like something people would consent to eating).

OK, I DID stray from the directions slightly, I used my food processor to grate the beets in an attempt to avoid the purple fingers. But this was futile as it seems that any contact with a roasted beet, even minimal,  stains. Oh well. 

Also do not own a stand mixer (which is used in the recipe) and was forced to use my $5 hand mixer. He did the job fine, but I'm pretty sure I will find some rouge pink frosting that was flung around on the next kitchen cleaning. 

Isn't my cake cute? I love me a double layer cake. 
I don't own any fancy cake stands so it's frosted on a pain ol' plate.  I strategically placed some strips of  parchment paper under the edges, frosted that bad boy and slipped out the paper when I was done.

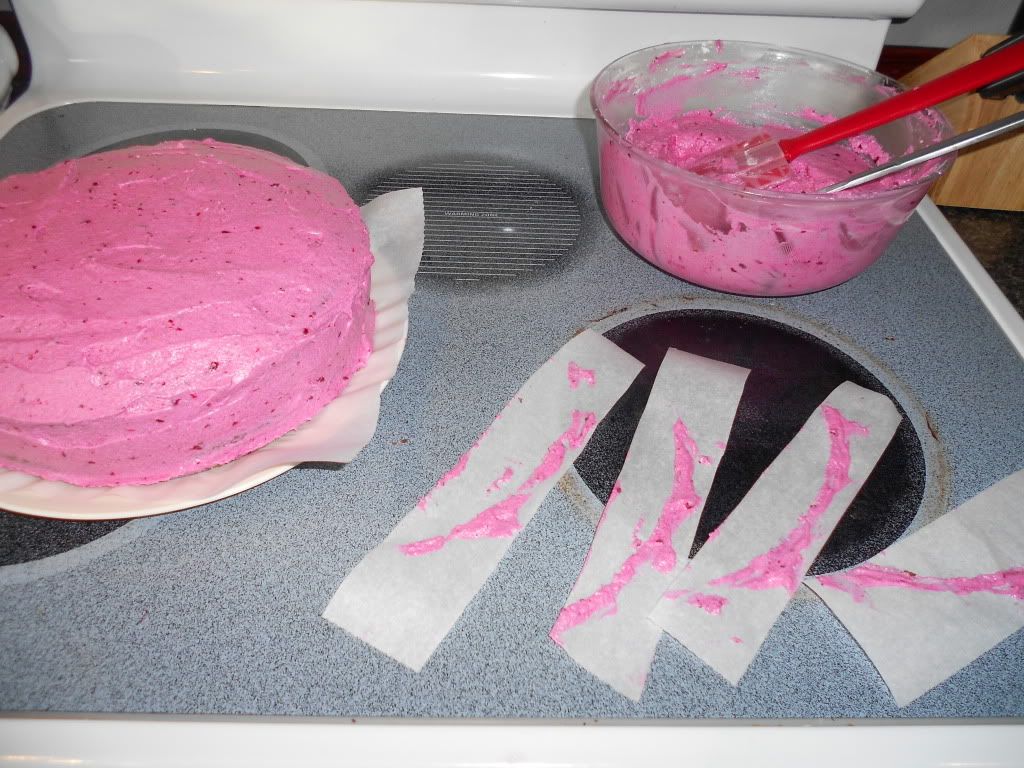
Neatly frosted on the bottom.
I am so proud of myself.

Anyways, aside from being a lovely purplish color the cake was fantastic and really moist. Not too chocolatey and no beetyness. The cream cheese frosting was equally as good and gets it's pink color from, you guessed it, beets. I was a little worried of potential beetyness in the frosting, since unlike the beets in the cake (baked in the oven after roastage), the beets used are straight roasted beets. But to my amazement, no beet favor at all. Delish.

The only down side to the recipe, 


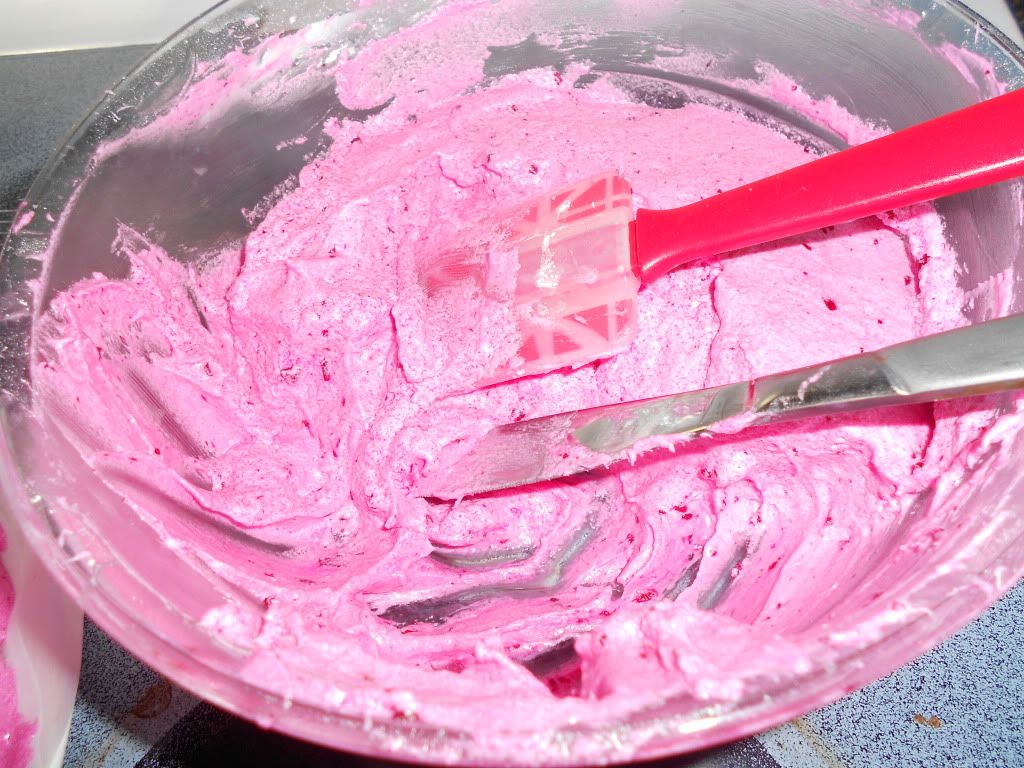
A TON of left over beet frosting. Enough to top some black bean brownies perhaps?

Saturday, January 28, 2012

Scrabble Tile Charms


There are some hardcore Scrabble players in my family. My Mom knows all the two letter words and every ‘Q’ word that does not require a ‘U’. She plays weekly with some family members and their games get pretty intense. Needless to say, it’s not always fun playing with her as I usually get brutally beaten (I’ve found that drinking before or during the game reduces the embarrassment).  During her last visit to my house, she informed me that my Scrabble game was missing a few letters (oh that pesky ‘Z’) and she kindly gave me one of her spare games.  So now I have an extra board and a bunch of tiles. Damn.
But you know what? There are a ton of super awesome projects with scrabble tiles. Here’s my take on Scrabble tile charms.  Ready? Let’s do it. 

Here’s what you’ll need:

Scrabble Tiles, obviously
Modge Podge
Modge Podge Dimentional Magic
*Found with the Modge Podge in the craft Store
 ‘thumbnail’ sheet from picture prints
(that sheet of paper you get when you get prints, has a preview of all the pictures)

Other Ideas…..
Scrap fabric
Scrap book paper
Rhinestones, glitter, whatever
Magnets
Wire
Clever husband to drill holes through your tiles


Cut to size.


Use the Modge Podge to glue the picture to the smooth side of the tile.
Paint a thin layer over the picture too.

Allow to dry
(At least until it’s no longer tacky to the touch)


Whip out the Dimensional Magic.
Carefully put a coating over the picture.

*Be sure to squeeze a little out on a scrap piece of paper first.
Bubbles suck and they are a pain to get rid of.

When you’re done, put the tiles somewhere out of reach of curious cats, husbands and toddlers,
and allow to dry completely
(Instructions on bottle recommend 3 hours, I’m paranoid and left mine overnight)


That’s it! You can do whatever you want with your tiles, I made magnets and pendants for jewelry.
I recommend that you glue the magnets or drill your holes before you start the Modge Podgeing.
Also, if you’re making pendants for jewelry, put your hardware through the hole beforehand or risk sealing the hole.

Pretty neat huh? I really like the look the Dimensional Magic gave the charms.
A  great gift for a Scrabbleholic Mom, no?

Friday, January 27, 2012

Hi, welcome to MOMnomics. Come by later and check out fun craft and sewing tutorials, recipes and mommy stuff. Hope to see you around...