 |
| 8 bucks. |

Friday, May 4, 2012
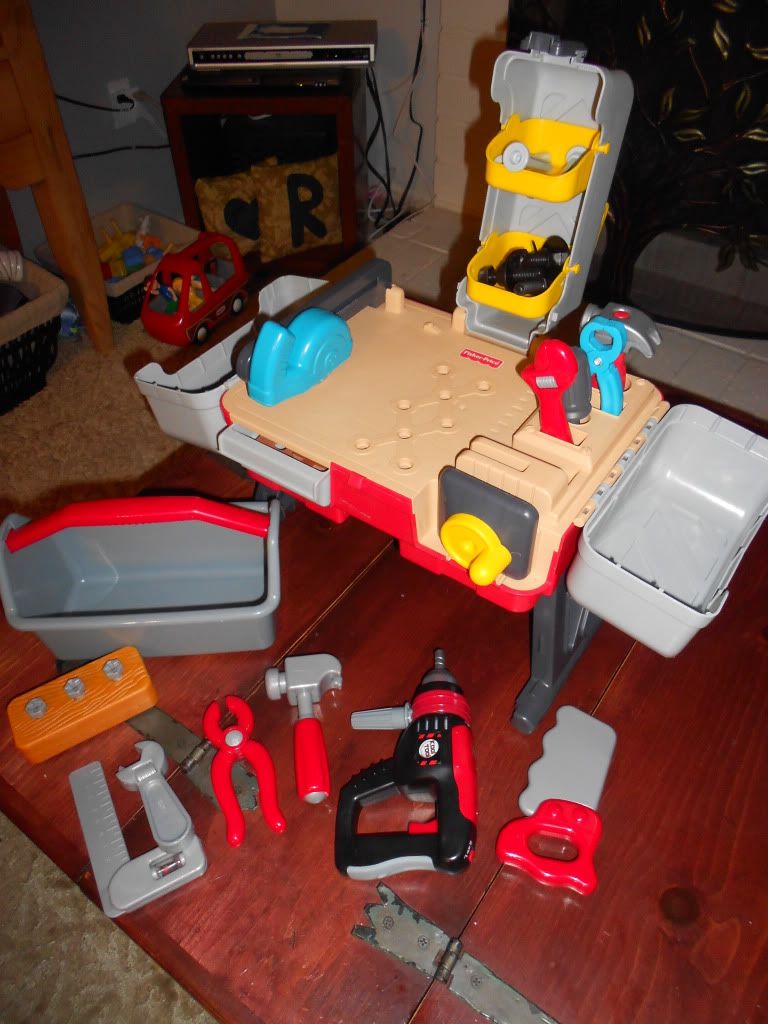
Tools Like Daddy
Thursday, May 3, 2012
Little Tikes Doll House Score
Monkey's birthday is coming up, she'll be two in a couple weeks. It sounds awful but I wasn't going to get her anything. She doesn't really get the present thing and she has grandmas and aunties that love to spoil her with toys and clothes. Not complaining, just saying kid's got a lot of stuff and she'll never know the difference. But. I found the coolest doll house on Craig's List. It's a Little Tikes Place doll house. Rolled off the assembly lines in 1989.
When I saw it I HAD to have it (you may have noticed, we already had the minivan and family (scored for $2 at Goodwill)). I don't know if I'd call my purchase a 'thrifty find' but I got the house, family of six (Mommy, Daddy, Boy, Girl and Twin Babies + Fido) and a bunch accessories for $75.
I really wanted it and the seller was firm on the price.
I love the generic (and retro) feel of the play set. Everything in the stores now a days is cheap, electronic or branded (Disney Princess, Dora the Explorer, (insert corporate trademark here), etc.) and I feel the play value is limited. Monkey can play with this for years. Not to mention, it's not gender specific so future children of mine can use it.
I couldn't wait and gave it to Monkey right after I brought it home. She loves it. Her favorite are the babies. She keeps putting them to bed and saying "ni-night". I told her the second Mommy and Daddy figures were Uncle John and Auntie. She keeps correcting me saying no it's "Monkey's uncle". Love it.
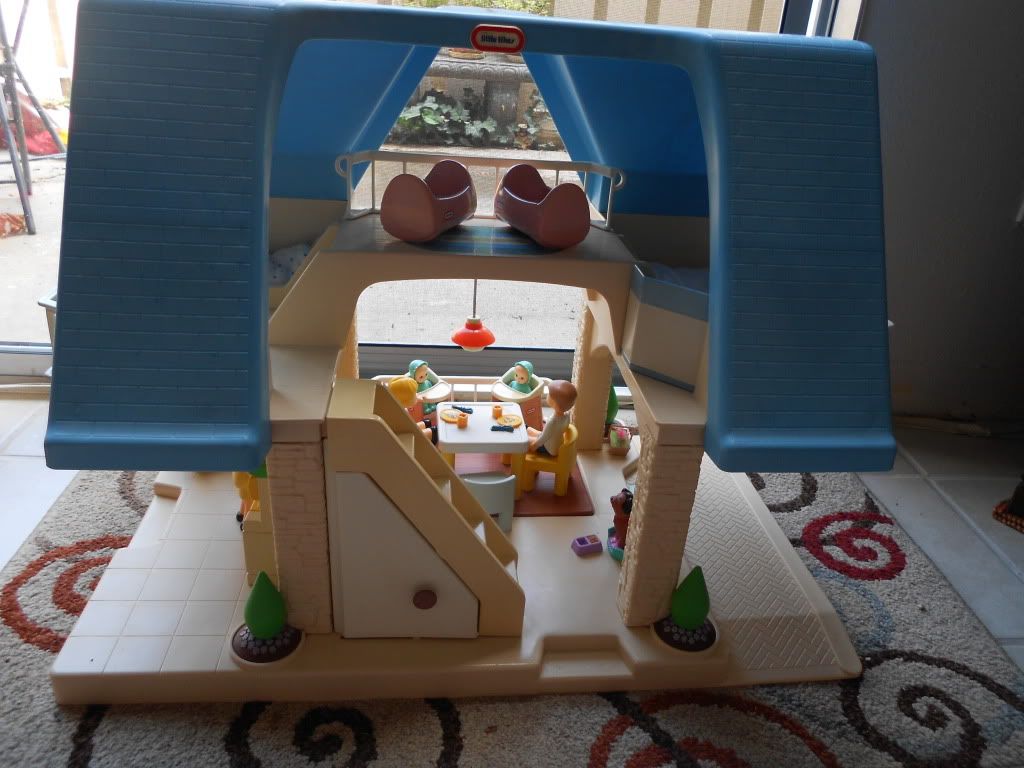 |
| Front. |
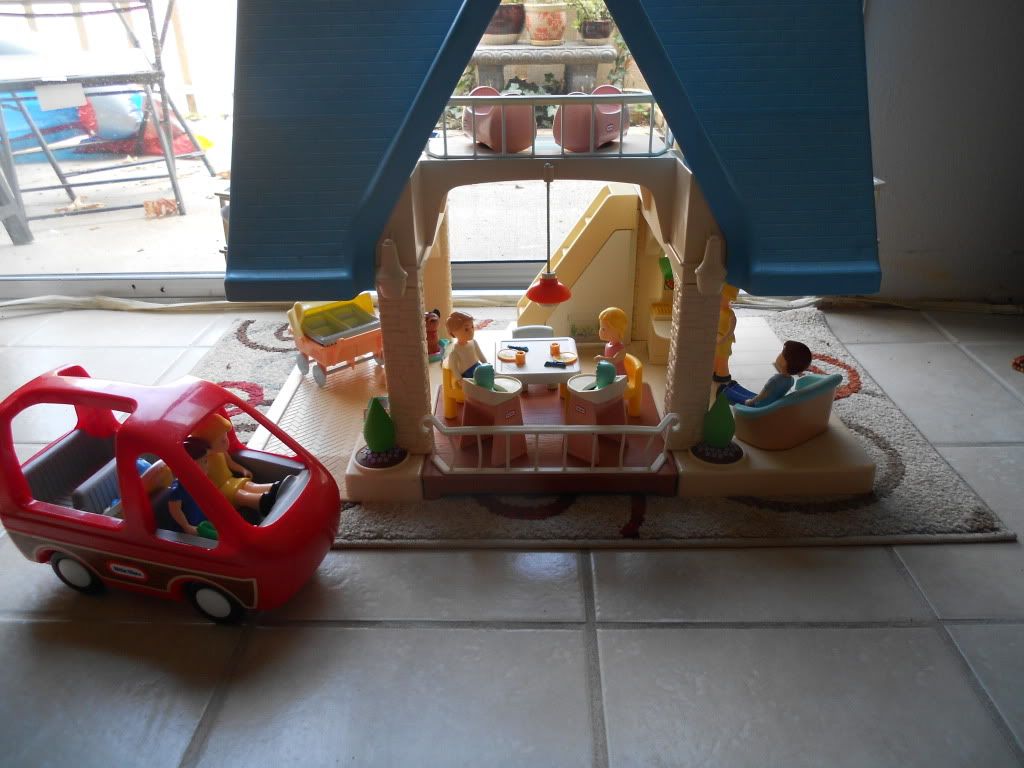 |
| Back. |
When I saw it I HAD to have it (you may have noticed, we already had the minivan and family (scored for $2 at Goodwill)). I don't know if I'd call my purchase a 'thrifty find' but I got the house, family of six (Mommy, Daddy, Boy, Girl and Twin Babies + Fido) and a bunch accessories for $75.
I really wanted it and the seller was firm on the price.
I love the generic (and retro) feel of the play set. Everything in the stores now a days is cheap, electronic or branded (Disney Princess, Dora the Explorer, (insert corporate trademark here), etc.) and I feel the play value is limited. Monkey can play with this for years. Not to mention, it's not gender specific so future children of mine can use it.
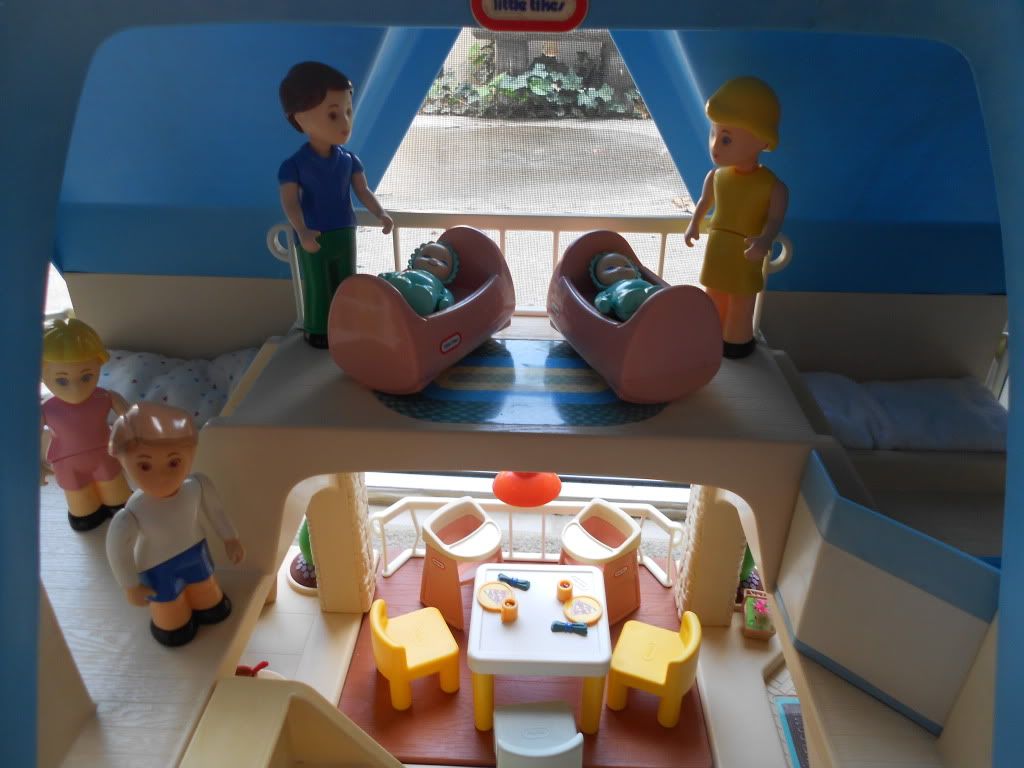 |
| View from upstairs. |
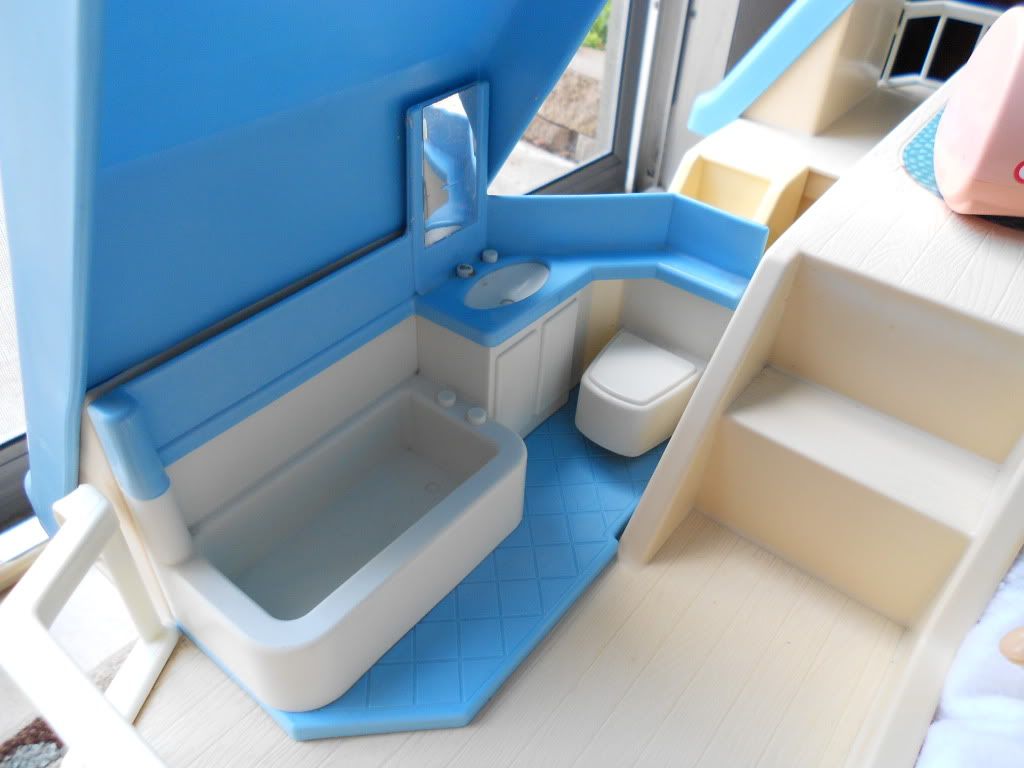 |
| Lol. The bathroom. |
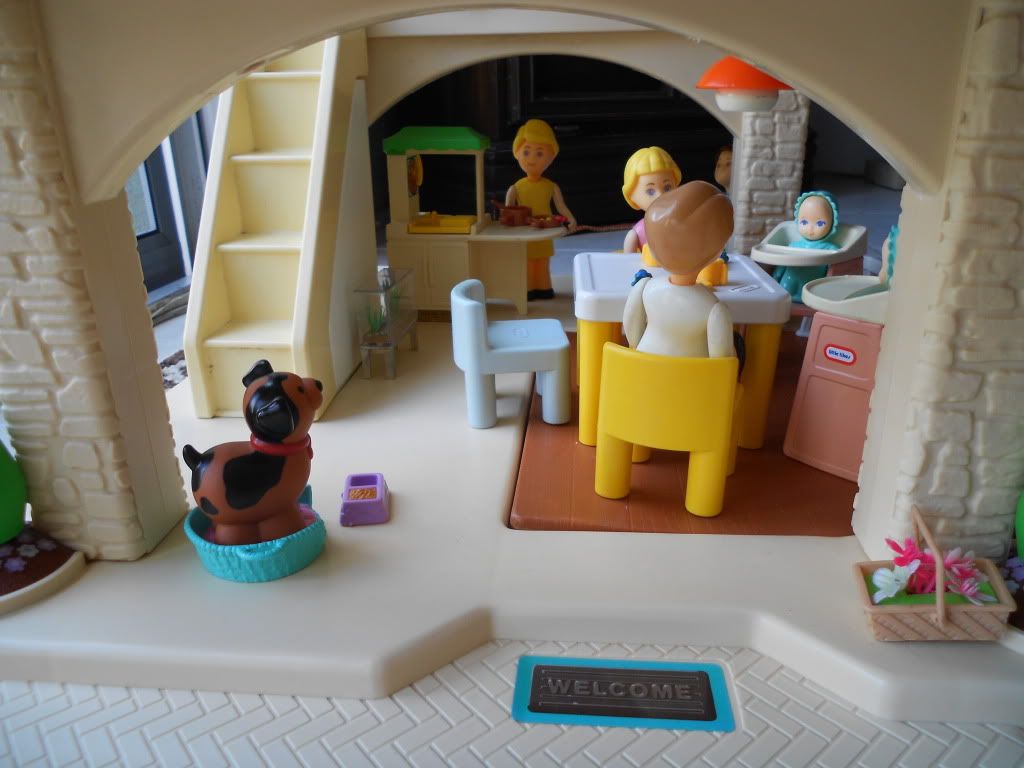 |
| From the front door. |
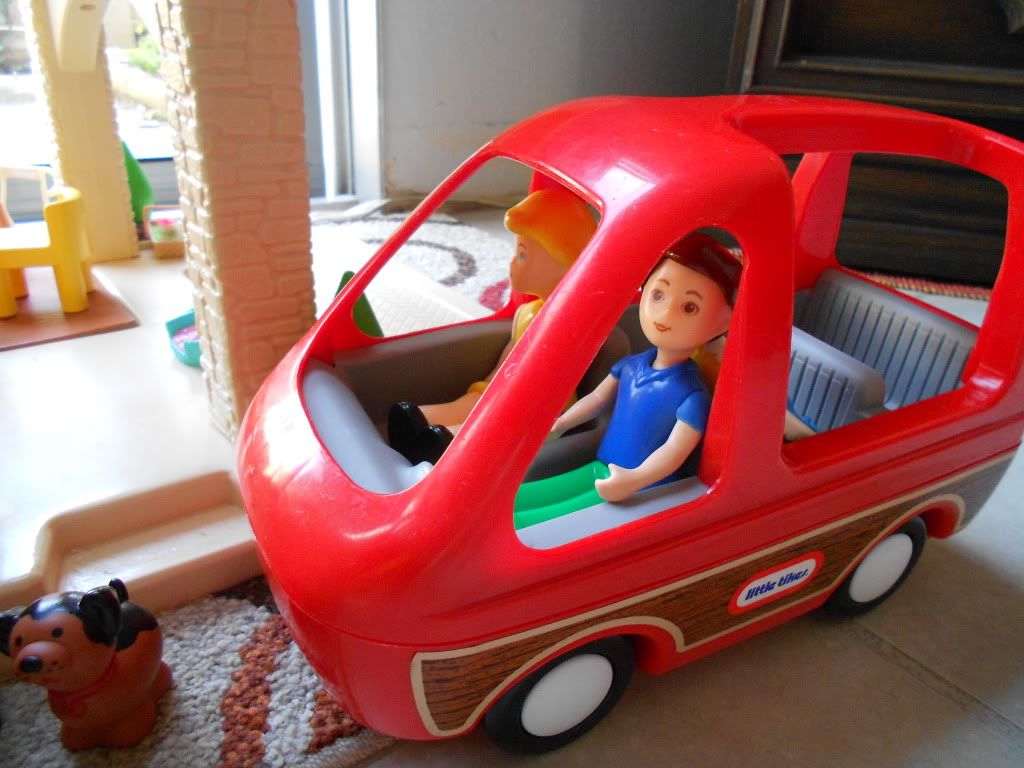 |
| Uncle John and Auntie in the van. |
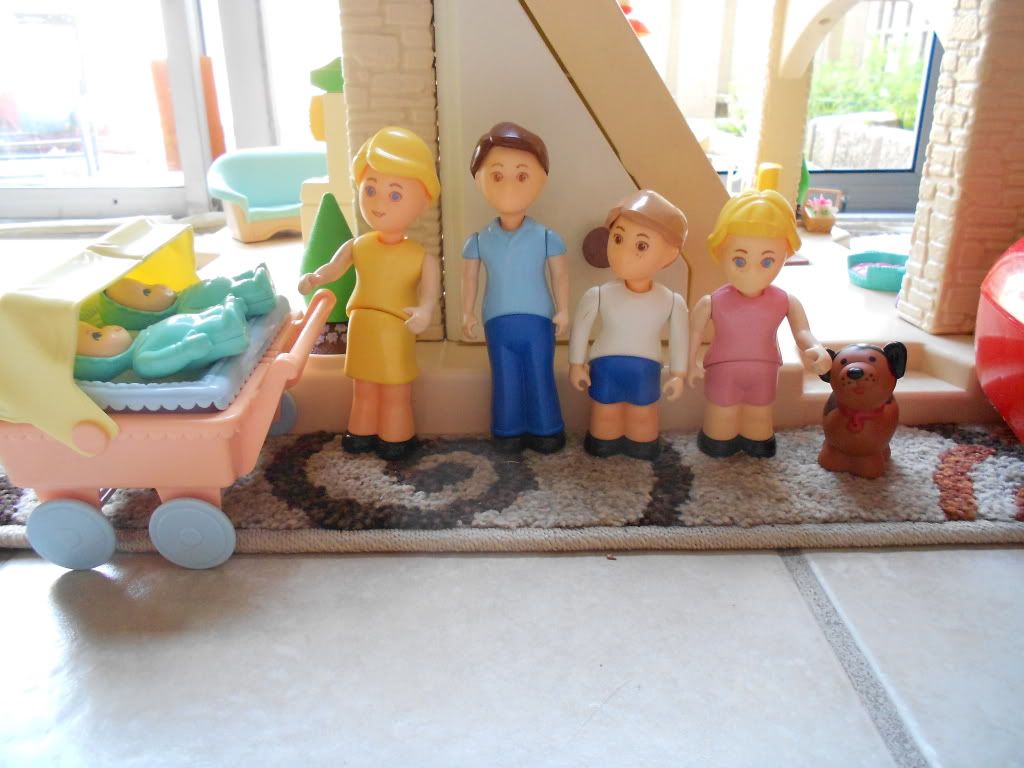 |
| The Fam. |
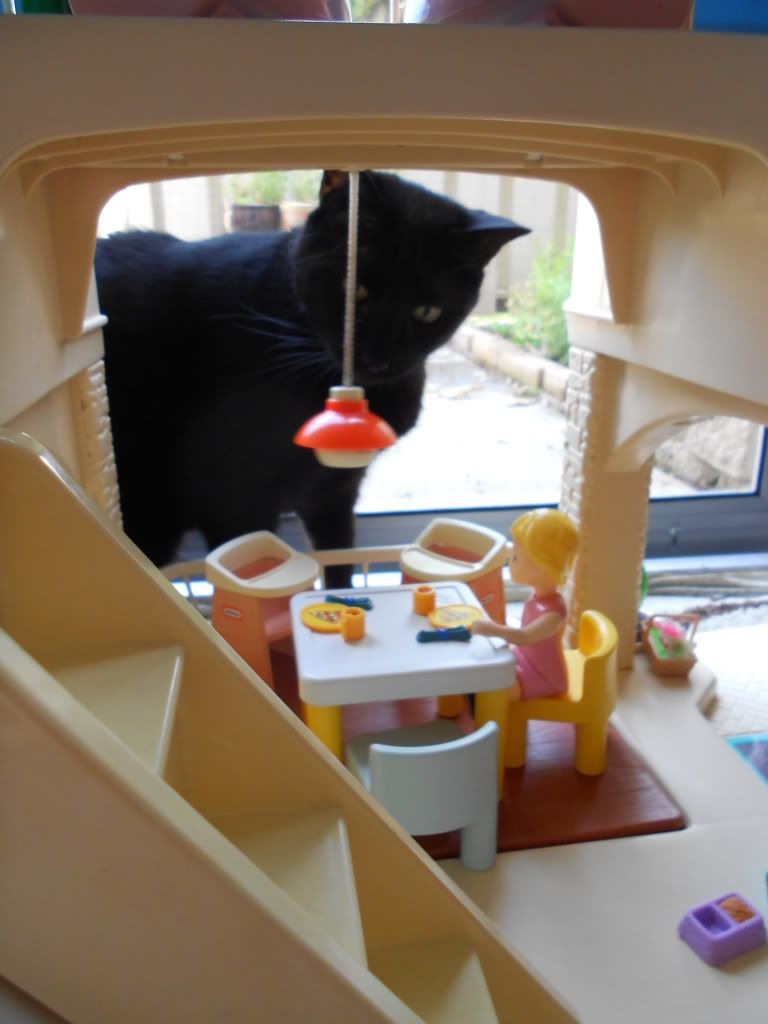 |
| Catzilla pays a visit. |
Wednesday, May 2, 2012
25 Minute Ironing Board Cover Tutorial
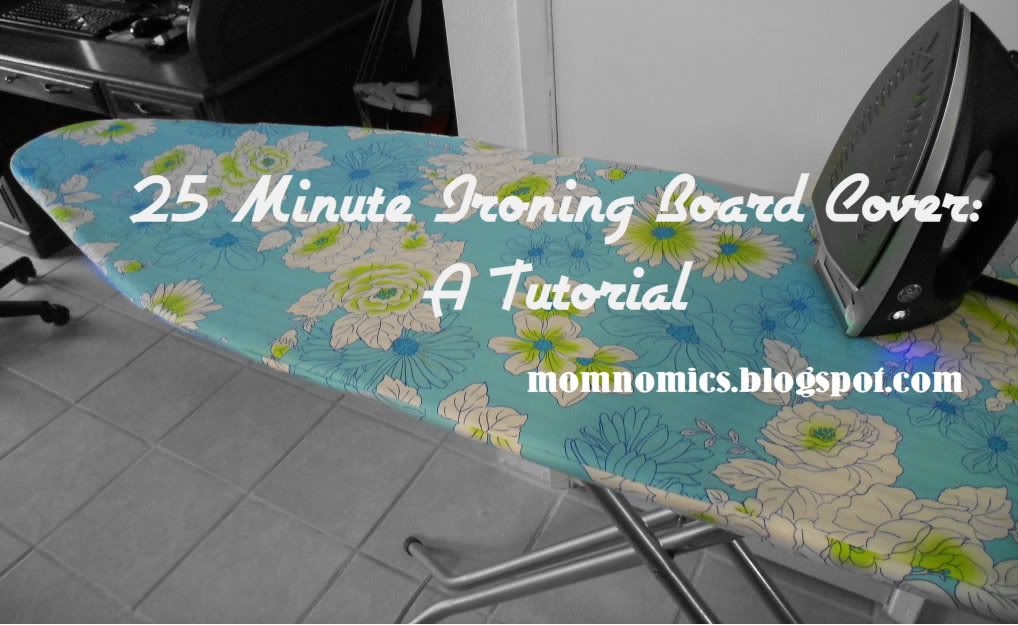
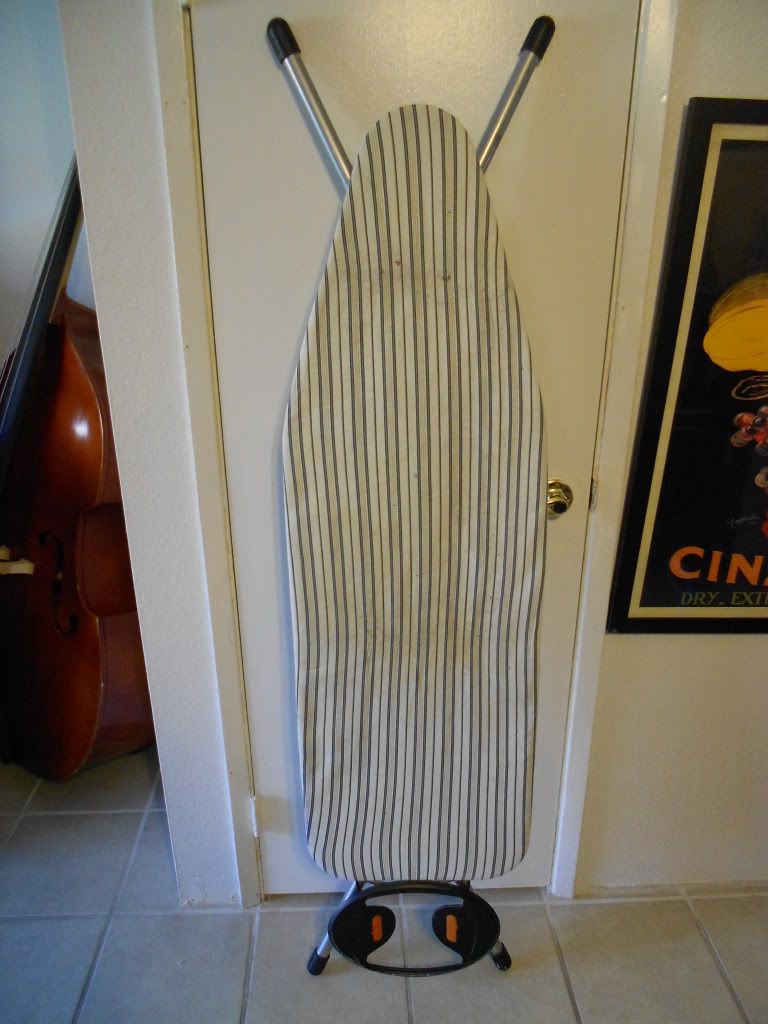
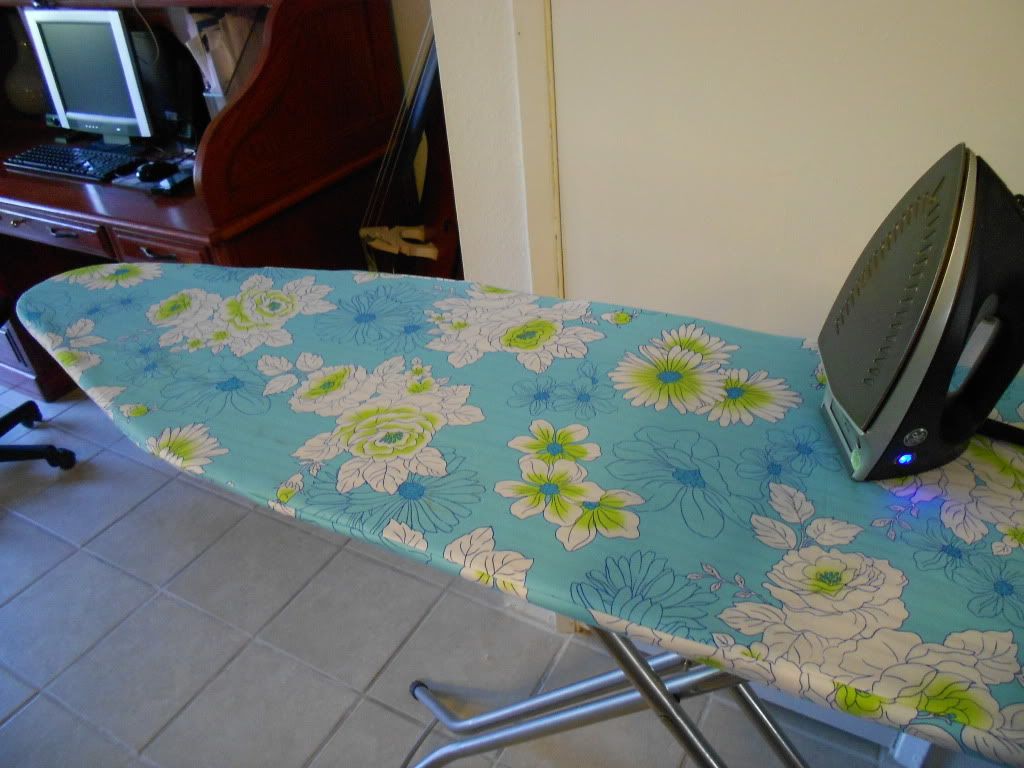
So, My ironing board is ugly and gross.
Here's what'ch need:
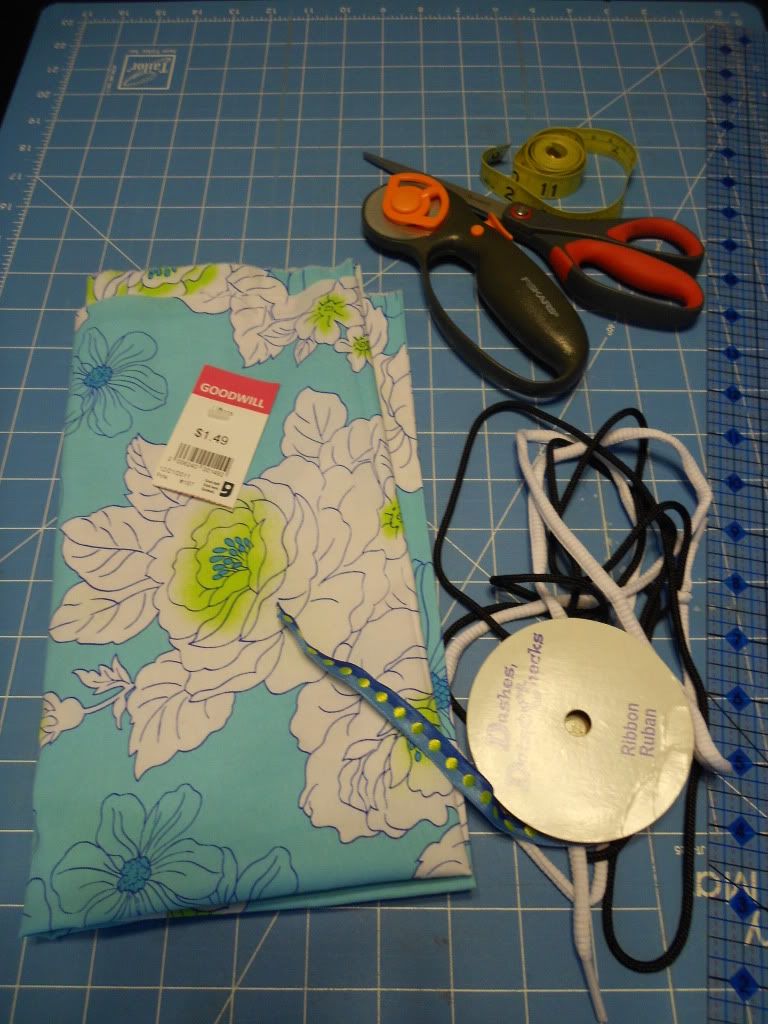
Fabric, enough to cover the board and some extra (I scored mine at Goodwill)
String or ribbon. I tied together two shoe laces, cause that what I had (cheap remember?). You will need a length longer than the perimeter of your board (perimeter measurement + about 12")
The usual sewing gear:
Cutting mat
Rotary blade
Scissors
Tape measure
Pins
Ironing Board (duh)
Iron
First:
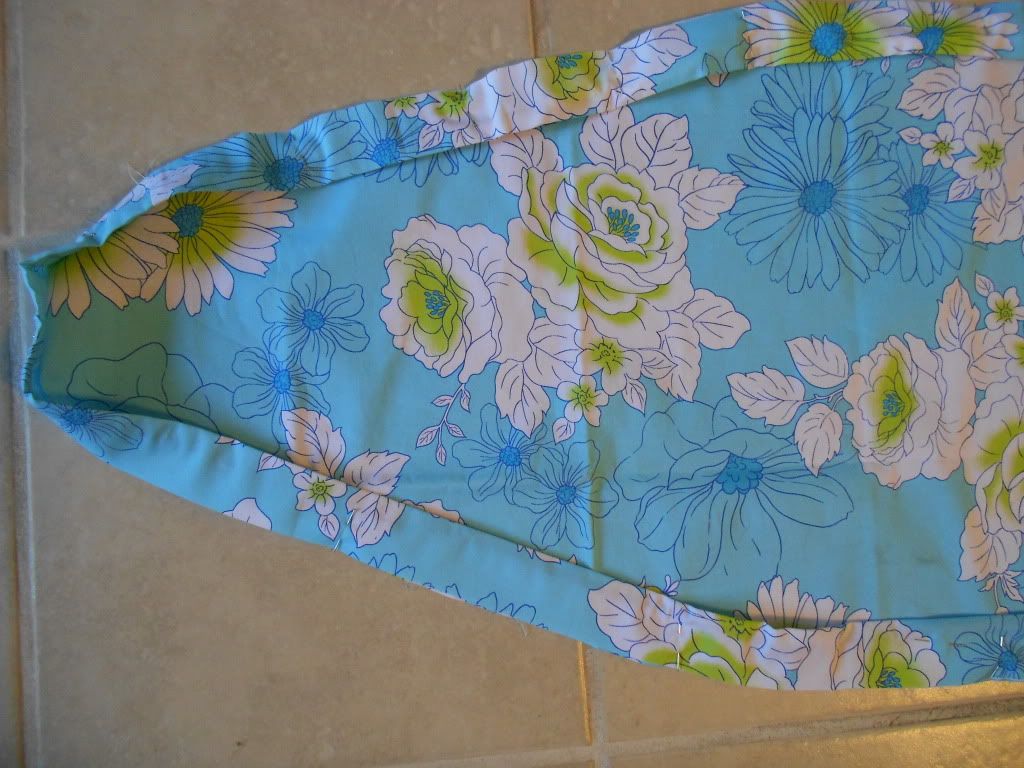
Lay your fabric face down and place the ironing board on top like this;
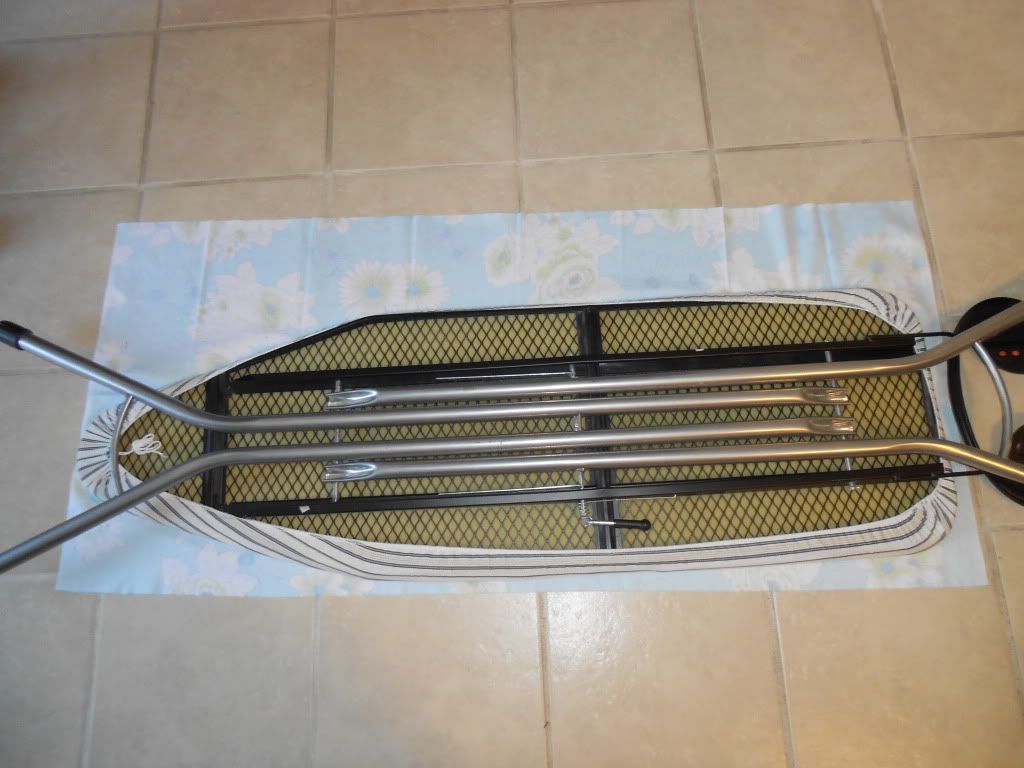
Trace and cut around the board about 1/2" out from the edge to account for the seam allowance.
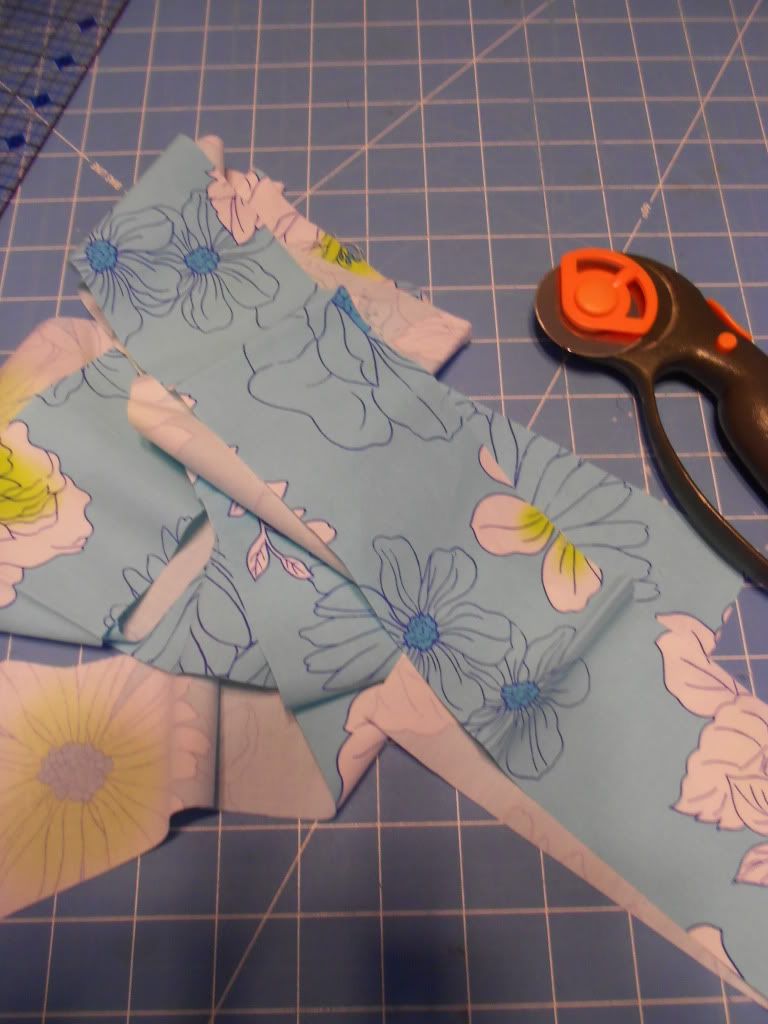
Next, with the remaining fabric cut 3" wide strips. You will need one piece long enough to go around the perimeter of the top piece you just cut. Use your measuring tape to find out how long your final strip needs to be. I had to piece together my scraps to make it. If you're a little short, no worries (it's an ironing board cover, it doesn't have to be perfect and no one's judging).
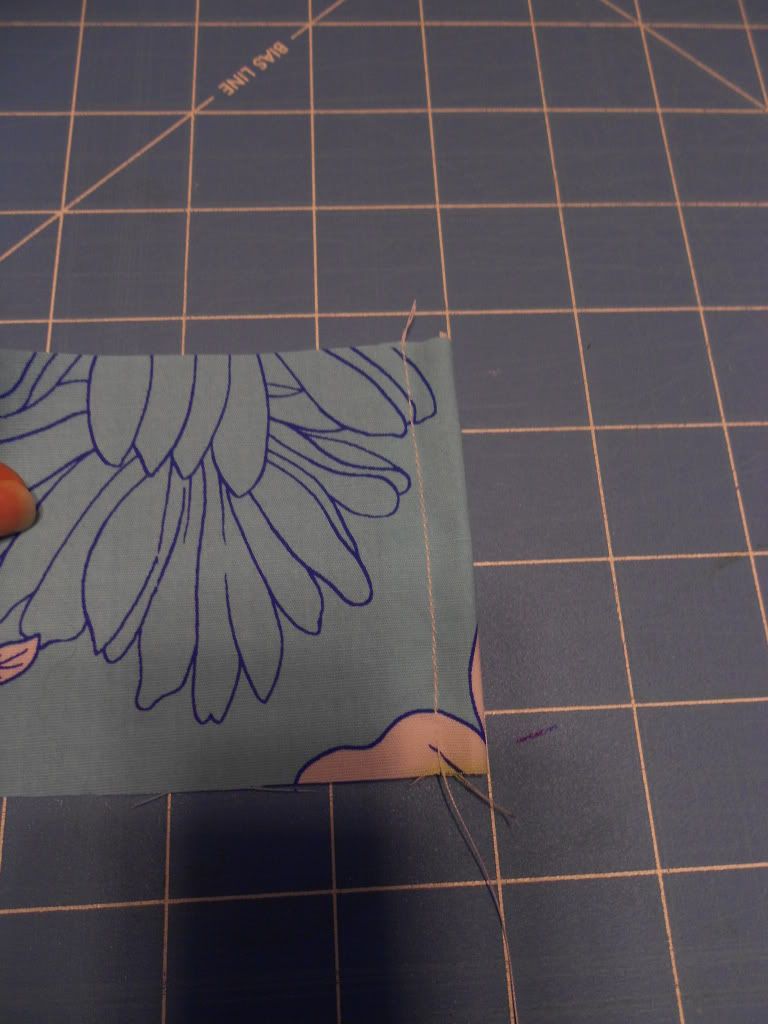
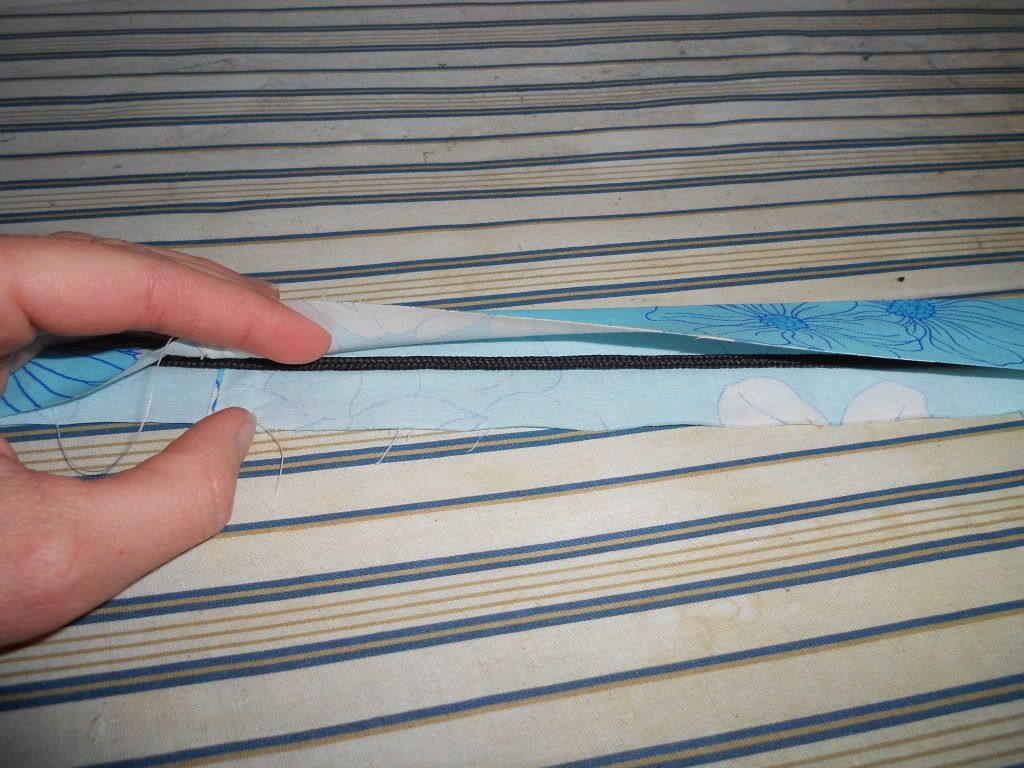
After you have your strip cut and pieced, fold, press and sew each end like this (just so the raw edges are contained and it looks finished):
Next, fold the strip in half (hotdog style) and press.
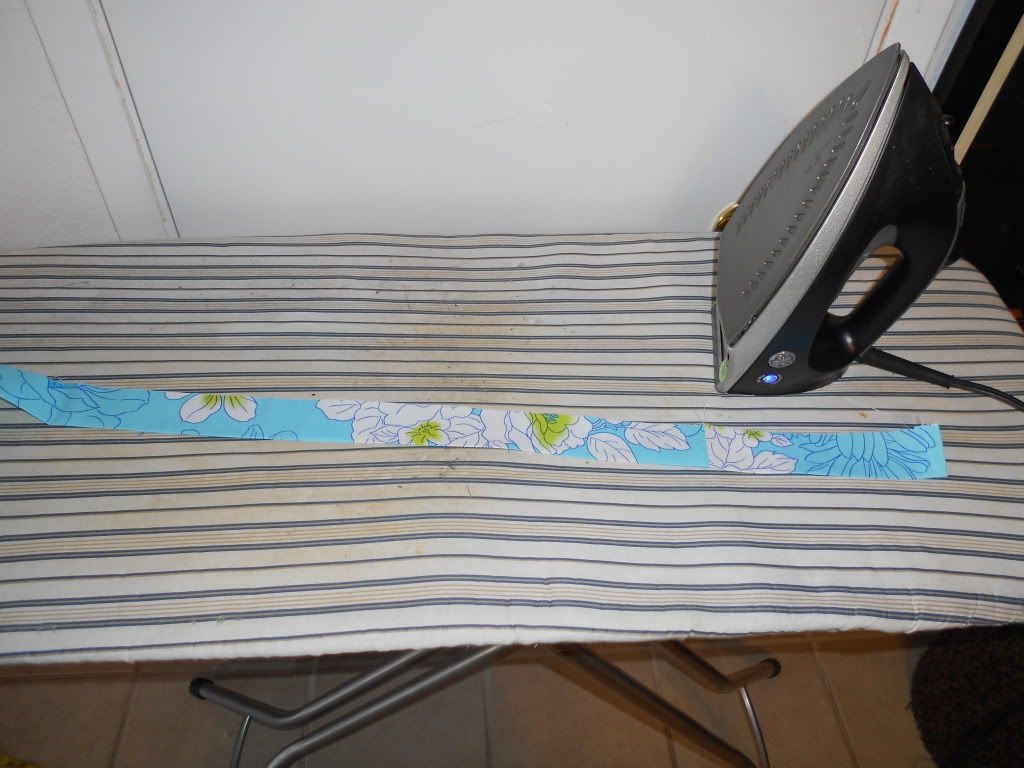
Insert your ribbon, string, shoes laces, dental floss, or what ever you're, into the fold like this:
Pin the folded strip to the top piece, fabric fancy side up and raw edges lined up.
Find the middle of your strip start by pinning to the 'top' of the ironing board, the ends should meet at the middle of the 'bottom'. Make sure the ends of the strings are hanging out.
Machine sew all the way around with what ever seam allowance you like, I used 1/4". Be careful not to sew into your string.
That's it. Flip the lip down, put it on your board and pull the string tight.
Subscribe to:
Comments (Atom)